How to Clean Car Seats: A Complete Step-by-Step Guide
Few things affect how a car feels to ride in as much as the condition of its seats. Whether you drive daily, use your vehicle for family trips, or are getting ready to sell it, learning how to clean car seats properly can make an old interior look almost new again. Because seats absorb dust, spills, body oils, and odours over time, they often need more attention than the rest of the cabin. In this guide, we will walk through exactly how to clean car seats, regardless of whether you have cloth, leather, or vinyl upholstery, so that you can restore comfort and appearance without damaging the material.
Why Cleaning Your Car's Upholstery Matters
Before getting into the process, it helps to understand why seat maintenance matters so much. First, dirty seats trap allergens, bacteria, and odours, which can affect air quality inside the cabin. Second, stains and grime left untreated tend to set permanently, making later cleaning far more difficult. Additionally, a well-maintained interior significantly increases resale value, since buyers often judge a car's overall condition by how the seats look and smell. As a result, regular seat care is not just about appearance; it is also about health, comfort, and long-term value.
What You Will Need
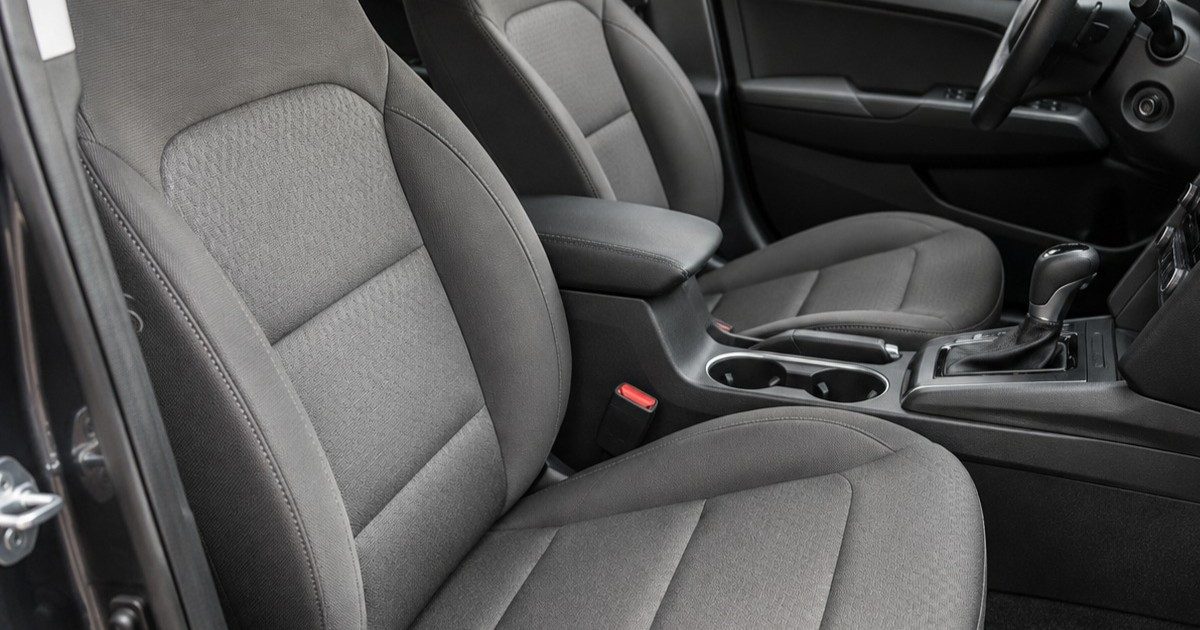
To clean car seats effectively, gather the following before you begin:
● A vacuum cleaner with an upholstery attachment
● A soft-bristled brush
● Microfiber cloths
● A mild upholstery cleaner or a homemade solution of water and gentle soap
● Leather cleaner and conditioner (if applicable)
● A spray bottle
● Baking soda (optional, for odour removal)
Because different materials require different products, always check your seat type before selecting a cleaner. Using the wrong product can discolour fabric or dry out leather, so testing on a small hidden area first is strongly recommended.
Step 1: Vacuum Thoroughly First
Start by vacuuming every seat, including the crevices between cushions, along seams, and underneath headrests. This step matters because loose dirt and crumbs can scratch the material if you skip straight to wet cleaning. Use the upholstery attachment and go slowly, since rushing often leaves debris behind. For cloth seats, a brush attachment helps lift embedded dust; for leather, a soft nozzle prevents scratching.
Step 2: Identify Your Seat Material
Since cloth, leather, and vinyl all respond differently to cleaning agents, identifying the material is essential before moving forward.
● Cloth seats: Absorbent and prone to staining, but generally tolerant of mild detergents.
● Leather seats: Require gentler, pH-balanced products to avoid cracking or fading.
● Vinyl seats: Durable and easy to wipe down, though harsh chemicals can still cause discoloration over time.
Once you know what you are working with, you can move on to targeted spot treatment.
Step 3: Treat Stains and Spots
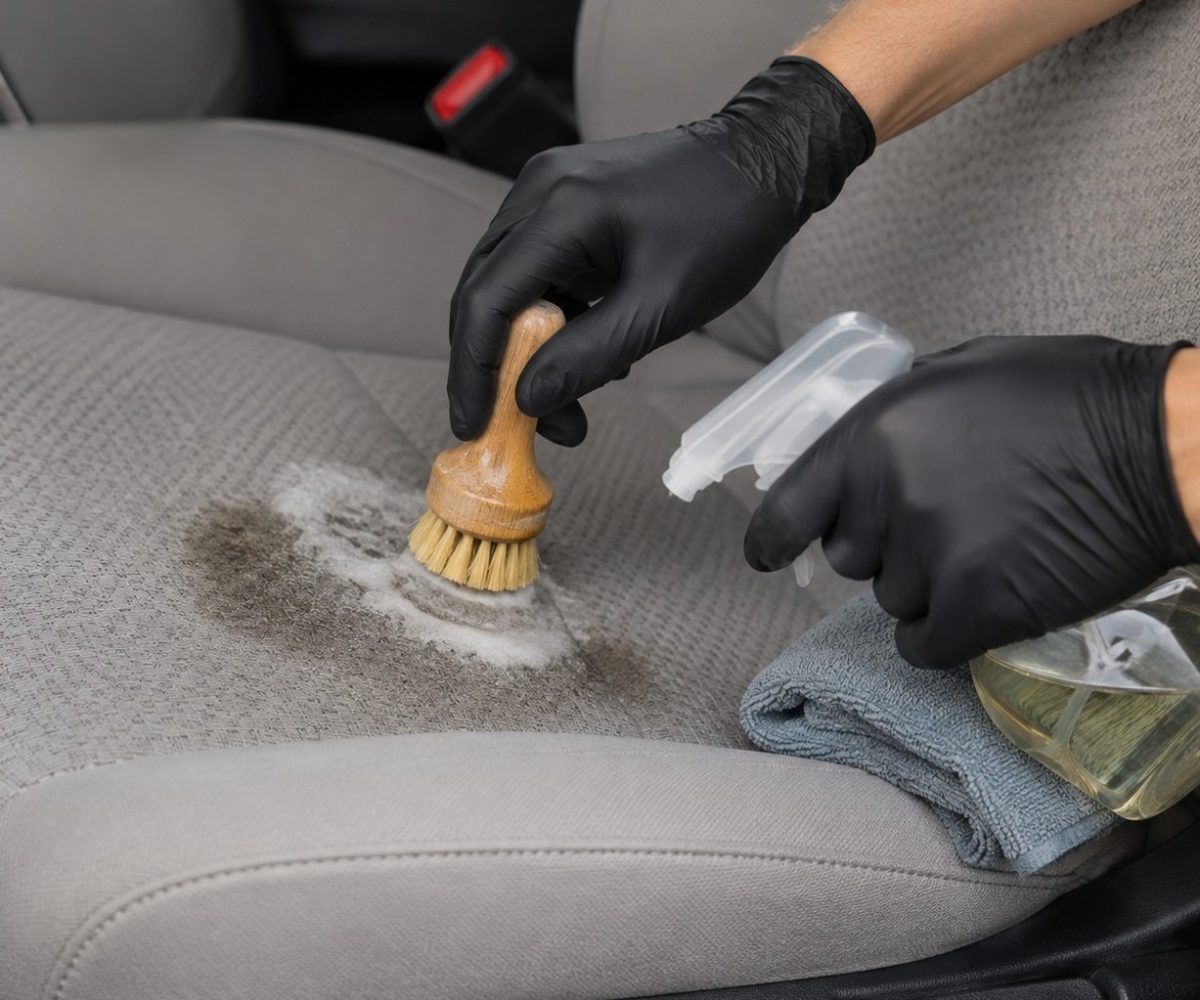
For stubborn marks, apply your chosen cleaner directly to the stain rather than soaking the entire seat. Gently work it in using a soft brush or cloth, moving in circular motions. Afterwards, blot the area with a clean, damp cloth to lift the loosened dirt. For particularly tough stains such as coffee, ink, or grease, you may need to repeat this process two or three times. Patience here pays off, since aggressive scrubbing can damage fibers or leather grain.
Step 4: Deep Clean the Fabric or Leather
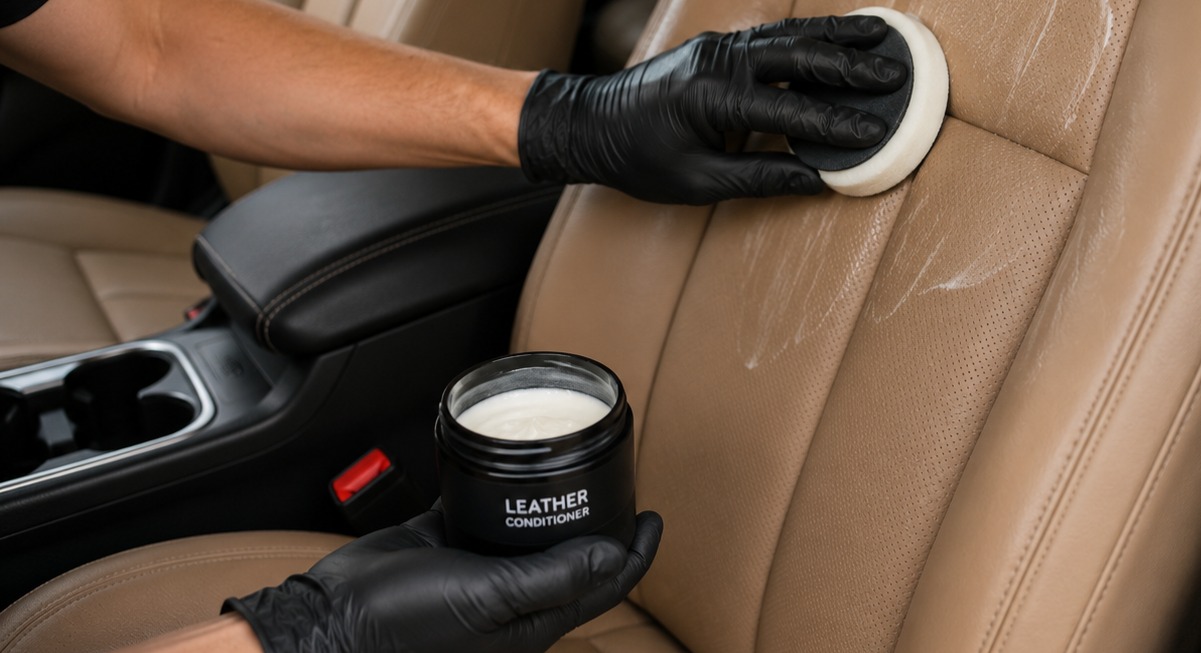
After spot treatment, it is time for a deeper wash. For cloth seats, apply an upholstery cleaner evenly across the surface, then use a brush to work the solution into the fibres before wiping away excess moisture with a microfiber cloth. For leather seats, apply a leather-specific cleaner, followed by a conditioner to keep the material supple and prevent cracking. Vinyl seats simply need a wipe-down with a diluted cleaning solution, followed by a dry cloth.
Step 5: Let the Seats Dry Completely
Once cleaning is finished, allow the seats to air dry fully before using the vehicle again. Leaving windows open or parking in a well-ventilated area speeds up this process. Moreover, drying seats fully helps prevent mold or mildew growth, which can otherwise develop in damp fabric. If you are short on time, a wet/dry vacuum can help extract excess moisture more quickly.
Step 6: Deal With Odours
If lingering smells remain even after washing, sprinkle baking soda across the seats and let it sit for several hours, or overnight if possible. Afterwards, vacuum thoroughly to remove the powder along with the odor particles it absorbed. This simple step is often overlooked, yet it makes a noticeable difference in how fresh the cabin feels afterwards.
Tips for Keeping Seats Clean Longer
Once you have learned how to clean car seats and completed a full cleaning session, a few simple habits can help maintain the results for much longer than you might expect:
● Use seat covers if you frequently transport pets, children, or messy cargo.
● Avoid eating in the car whenever possible, since crumbs and spills are common culprits.
● Wipe up spills immediately rather than letting them dry.
● Vacuum monthly to prevent dirt buildup between deep cleans.
Because prevention is easier than repeated deep cleaning, these small habits can dramatically extend the time between full washes.
Common Mistakes to Avoid
Many people unintentionally damage their upholstery while trying to clean it. For instance, soaking cloth seats too heavily can lead to mold growth inside the padding. Similarly, using harsh chemicals on leather often causes premature cracking. Furthermore, scrubbing too aggressively can wear down fibres or scratch leather grain. Taking a slower, more careful approach almost always produces better results than rushing through the process.
Final Thoughts
Learning how to clean car seats is a valuable skill for any vehicle owner, whether you are maintaining a family car, prepping a vehicle for resale, or simply want a fresher daily commute. By vacuuming first, identifying your seat material, treating stains carefully, and finishing with a proper deep clean, you can restore your interior's appearance and comfort. With a bit of regular maintenance afterwards, your seats can stay in great condition for years to come.